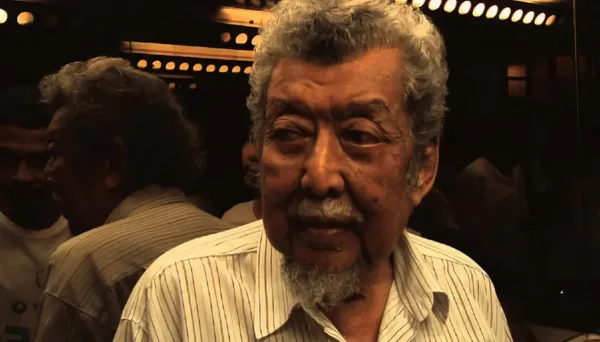
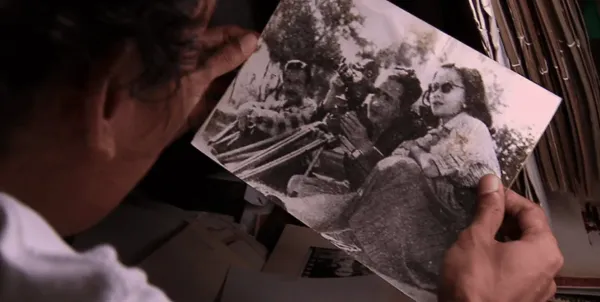
Behind the Flickering Light: The Archive
Images (4)
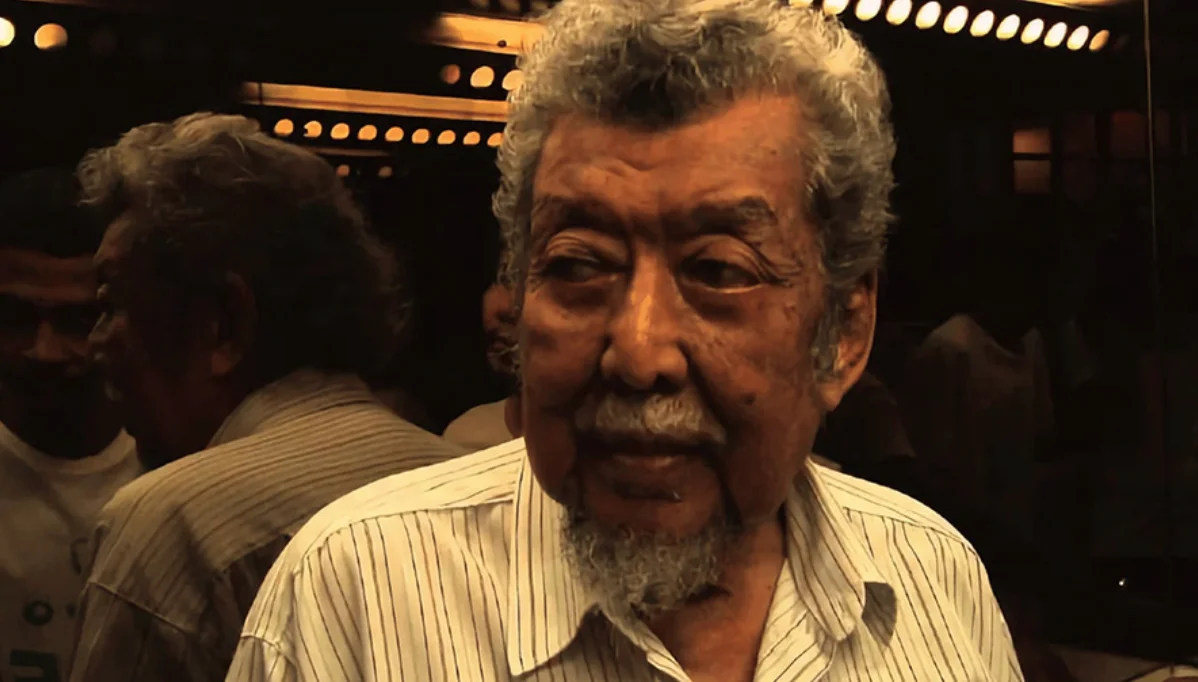
Behind the Flickering Light: The ArchiveBehind the Flickering Light: The ArchiveBehind the Flickering Light: The ArchiveBehind the Flickering Light: The Archive